Every year, the onset of summer prods nostalgia, compelling us to fondly recall seasonal activities like camping, hiking, swimming—and tie-dyeing. Recreate the magic with any of these cool ways to tie-dye T-shirts! Don't forget to invite your kids to the party.
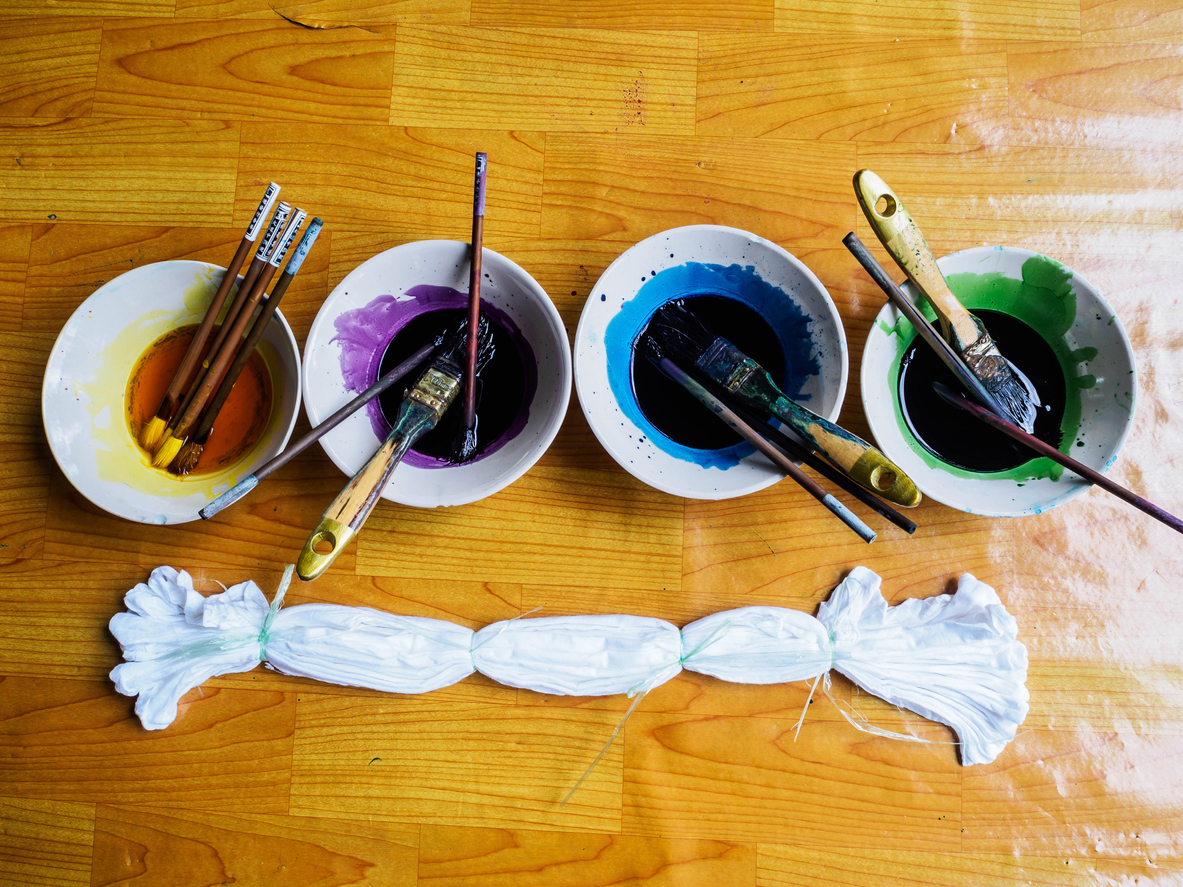
Look to your home or local craft store to source your materials:
- 100% cotton T-shirt(s)
- Colorful fiber-reactive dyes (to mix with urea and warm water)
- Soda ash
- Squeeze bottles
- Bucket or plastic tub
- Rubber bands
- Sandwich bags
- Latex gloves
As a note, most craft stores carry tie-dye kits with squeeze bottles already containing the dyes, along with the necessary portions of urea and soda ash.
Before following the rubber-band and dyeing instructions for these tie-dye patterns, make sure you pre-soak your T-shirt(s) in a tub filled with soda ash and warm water—measure out one cup of soda ash per gallon of water. After soaking your garment for 15 minutes and wringing it tightly, you are ready to rubber-band it and get dyeing!
1. Spiral Tie-Dye
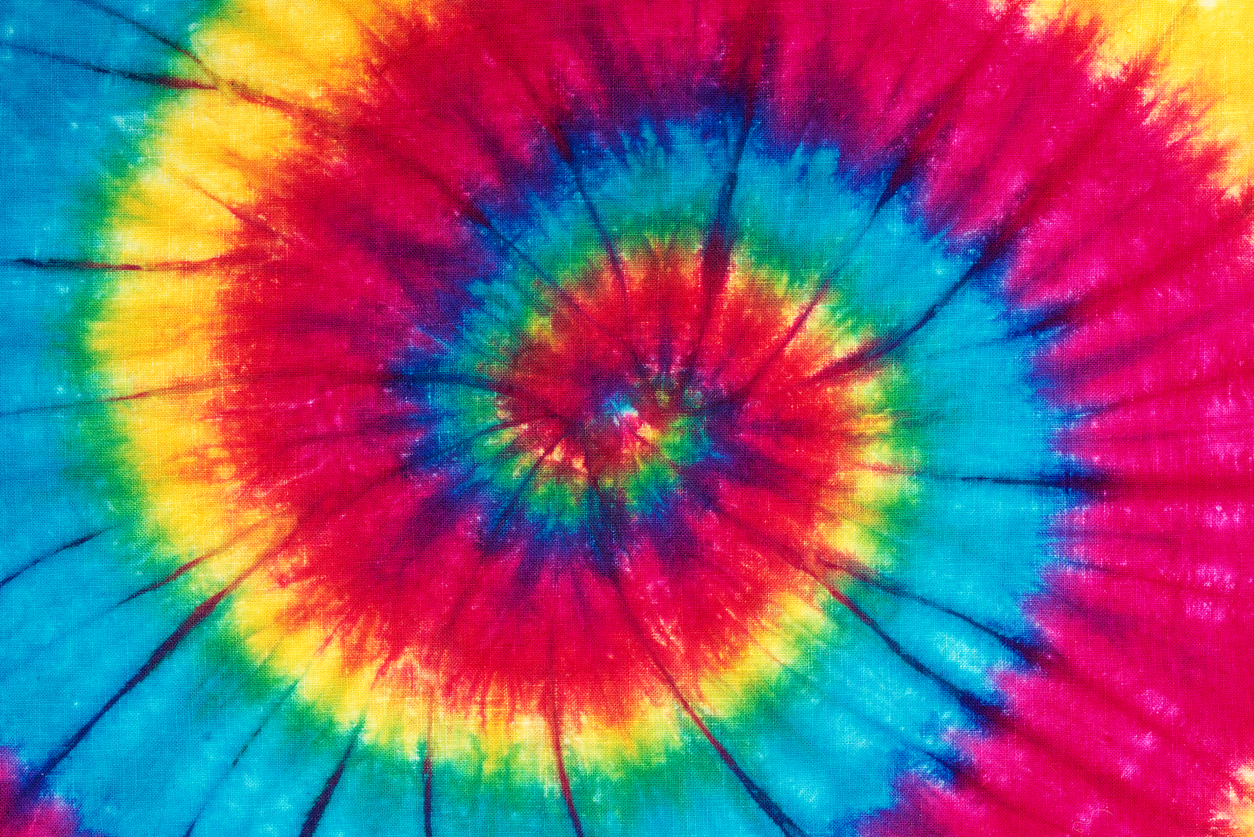
You can't go wrong with a tried-and-true classic. To achieve a spiral tie-dye pattern that is perfectly nostalgic of '60s-era Woodstock, take heed to our step-by-step instructions.
Laying your white T-shirt flat on a table, pinch it at the center of where your spiral pattern will start—most likely in the middle of your fabric. From where you're pinching, twist the fabric until the garment takes on a compact spiral shape.
Secure your shape by wrapping three to four rubber bands around the shirt. Be sure to crisscross the rubber bands to create six or eight wedge shapes—the whole thing should look like a sliced pizza (on both sides).
Wearing latex gloves, follow your tie-dye kit's instructions for mixing your colors. If you're working from scratch, for each color, mix two teaspoons of powdered dye, one cup of warm water, and one tablespoon of urea. Note that for certain colors, you may need to add more powder for vibrancy; per one cup of water, try to limit yourself to 8 teaspoons of dye powder.
Once your concoction is mixed well in a plastic squeeze bottle, fill each wedge shape with a different color. For a seamless look, you may choose to arrange adjacent colors next to each other (e.g., red and magenta, green and blue) so that they bleed into each other beautifully.
2. Heart Tie-Dye
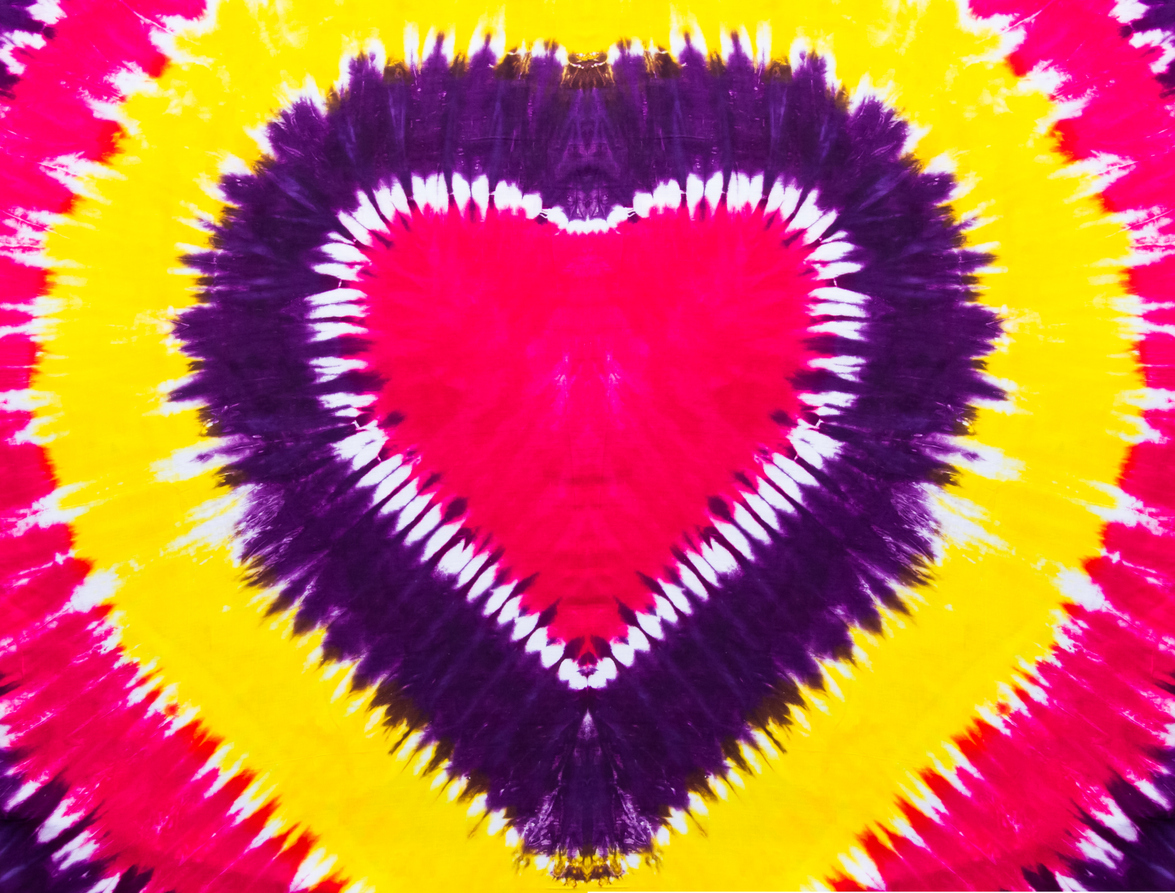
This cool way to tie-dye is bound to steal your heart. In addition to your arsenal of tie-dye supplies, you'll need a sheet of paper, a washable marker, and a pair of scissors. Fashion a classic valentine shape out of your piece of paper by folding it in half and cutting out a half-heart on the fold.
At this point, your T-shirt should follow suit: fold your shirt in half, lengthwise. Using the folded heart as a stencil, use your marker to trace a half-heart shape on the fold of the T-shirt, calculating the placement so that the heart is emblazoned on the center of the shirt.
Accordion-fold the fabric so that the pleats emerge vertically from the outline of the half-heart. Secure the folds around your outline with a rubber band and proceed to wrap rubber bands down the rest of your shirt to establish where you'll segment your colors—above where you tied the first rubber band is where you should dip-dye your heart shape
Unless you're going for a rainbow color scheme, we recommend sticking to two to three colors to promote unity.
3. Bullseye Tie-Dye
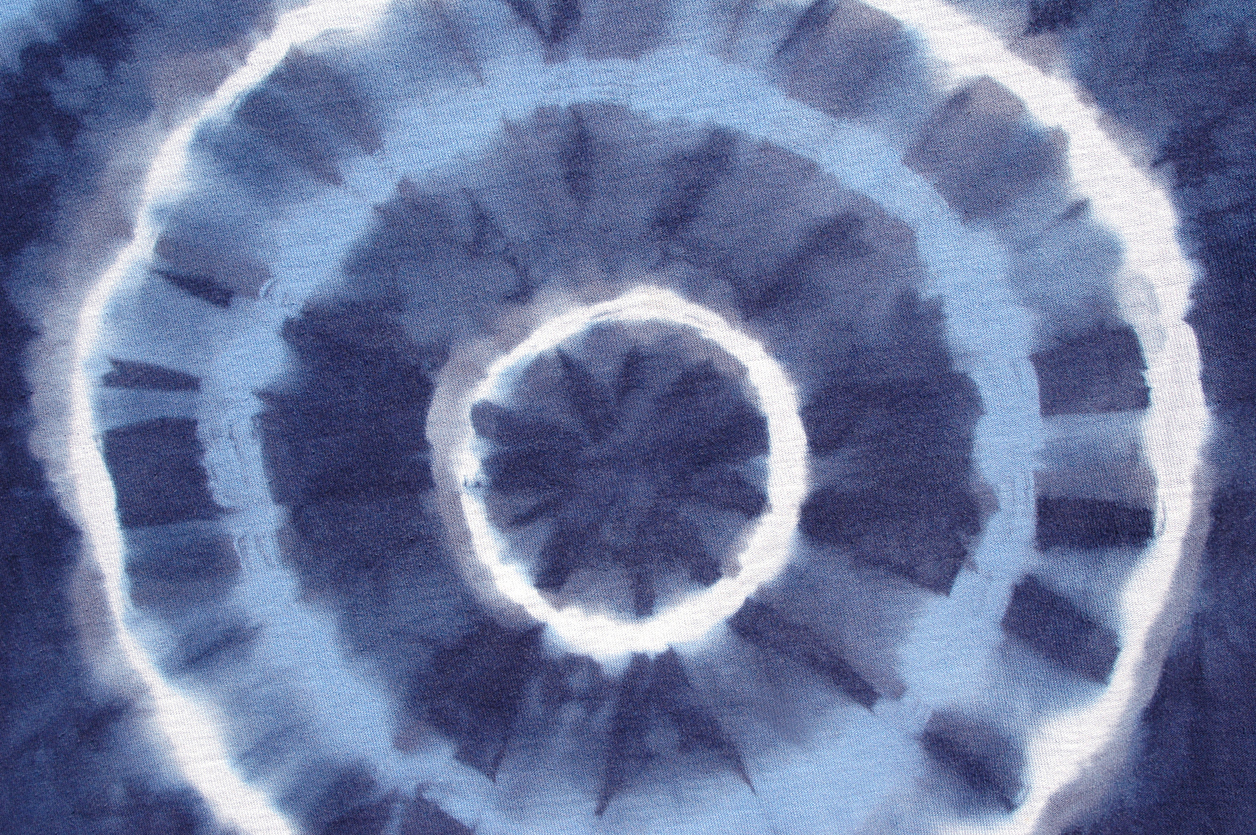
If you're targeting a subtle hippie-reminiscent design, this tie-dye pattern hits the mark. To recreate it, lay your T-shirt flat first. Then, visually gauge the midsection of the shirt, pinch it, and rubber-band both layers. Working your way toward the bottom, continue wrapping rubber bands in this fashion. In the end, you should have a tube of fabric fortified with evenly spread rubber bands. We'd aim for five or six rubber bands here.
Make sure the gaps between each rubber band are uniformly one inch apart from each other. This will ensure cleanly distributed rings in your bullseye pattern. For distinct concentric circles in your final product, use one color per banded section of fabric. For a more grounded, less-fluorescent look, we recommend applying at least two different shades of the same color—but it's truly dealer's choice.
4. Nebula Tie-Dye

This cosmic T-shirt design is so easy to accomplish, even toddler-aged kiddos can do it. Think of it as the tie-dye equivalent of flinging paint on a canvas.
The first step is to lay the shirt flat. Then, use your fingers to scrunch and wrinkle the fabric until you gather the garment into a tight disc.
Without much care for strategy or neatness, wrap several rubber bands all around your disc—the tighter you bind it, the more white space there will be in your final product. At this point, your project should end up looking like a crumpled-up shirt with crisscrossed rubber bands holding it into a compact shape.
After you've got those steps down, take your selection of squirt-bottled dyes and freely drizzle your assortment of colors all over your shirt. We favor dark blue and purple dyes for a galaxy-inspired look.
5. Sailor Stripes Tie-Dye
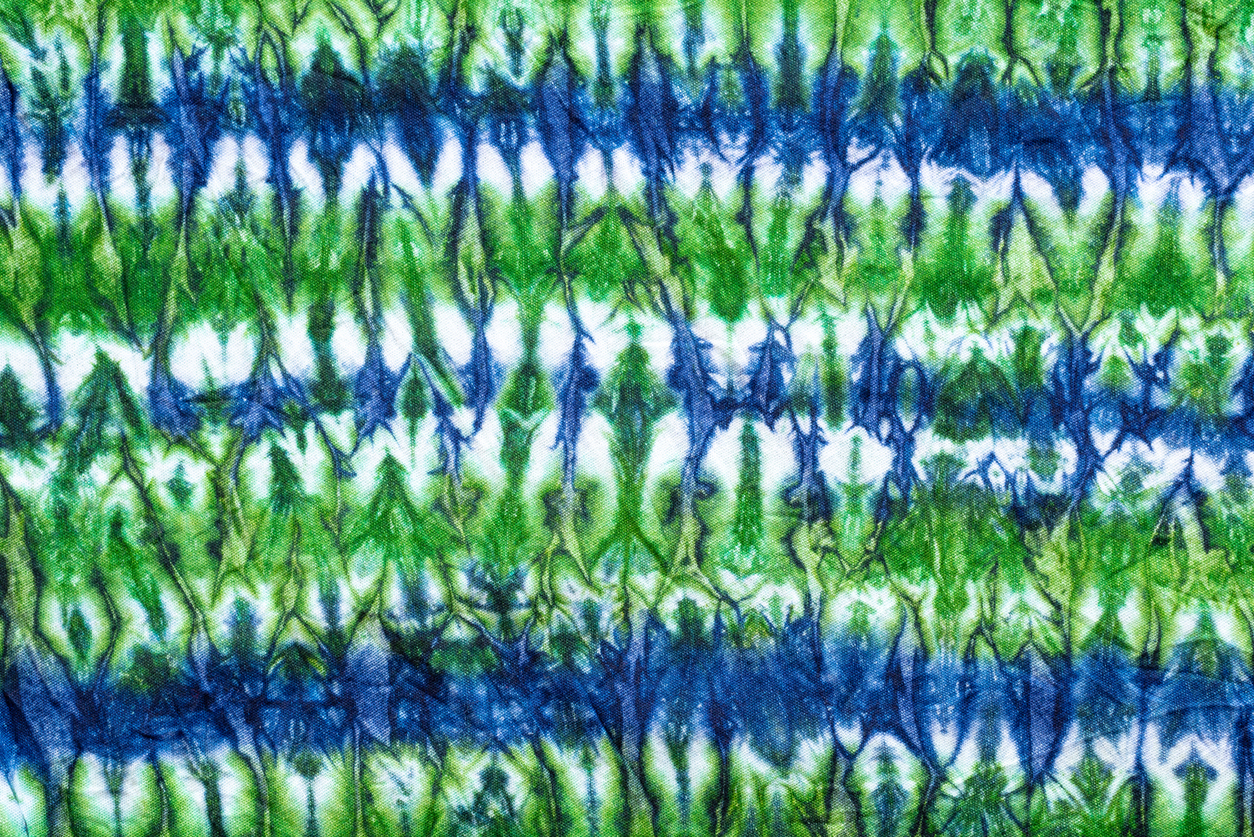
We tend to equate tie-dye with swirly, wavy patterns, so why not opt for something more interesting for your DIY project? We challenge you to try a sailor-stripes tie-dye pattern.
One of our favorite cool ways to tie-dye a T-shirt, this pattern can be easily achieved with some apt folding on your part. Starting at one side, bunch up your shirt to create accordion-like folds that run vertically from the neck to the hem. Once you've worked your way to the other side, wrap rubber bands tightly around your rolled-up garment. You can choose to evenly space out your bands or leave wider gaps for whimsy. As you're doing this, make sure that the pleats you folded are still pronounced.
Use your dyes to fill in the gaps between bands. For optimal texture and gradation of color, avoid being heavy-handed with your squirt bottle. Leaving the underside of your pleats white will bring groovy results.
How to Wash a Tie-Dye T-Shirt
The secret to prolonging the life and wear of your summer masterpieces is to wash them with care.
To clean newly dyed shirts, it is recommended that you let the dye marinate for 24 hours so that it sets into the fabric. Once you're sure the dye has settled into the fibers, wash your shirt separately or with other fresh tie-dye projects in warm water and with mild detergent. Take it for a spin in your dryer on high heat—this will help set the color and prevent your pretty design from fading during future washes.
In the long run, it is best to avoid washing your DIY tie-dyes with heavy items, like denim jackets and jeans, to prevent intense friction and color fading. By the same token, make sure that your washing machine is running on warm water and on the gentle cycle. Many resources suggest that air-drying is best to avoid giving colors the change to bleed—but if you've got a dryer with a Permanent Press setting that safeguards against this problem, you don't have to sweat it.

Whether you and your kiddos spend your summer tie-dyeing shirts, running around the backyard, or noshing on some BBQ fixings, one thing is for sure: the season of rampant messes and stains is upon us. You better make sure your laundry appliances are up to the task. Check out Spencer's digital catalog or call our experts to see how you can elevate your laundry room setup. Give us a call today!